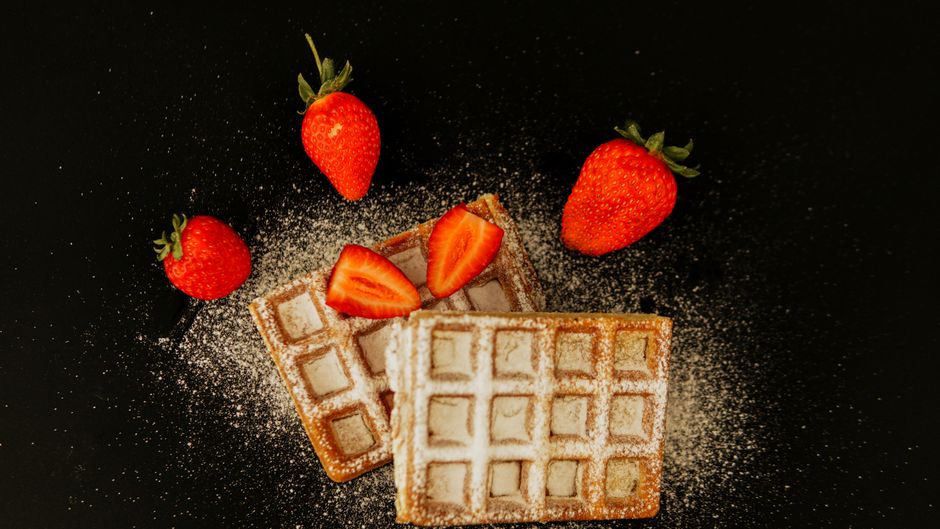
Waffles Recipe: Crispy Outside, Fluffy Inside Every Time
To make waffles, whisk together flour, baking powder, sugar, salt, egg yolks, milk, melted butter, and vanilla, then fold in beaten egg whites for a fluffy interior. Let the batter rest for 5 minutes, cook it in a fully preheated greased waffle iron for 4 to 5 minutes, and do not open the lid early unless you enjoy emotional damage before breakfast.
When I was little, my grandfather had an old cast-iron waffle maker he treated with more respect than certain blood relatives. It sat wrapped in a flour sack towel on the top shelf of the pantry, like a family Bible that could burn your fingers. Nobody touched it without permission. Nobody washed it with soap. Nobody even looked at it too long unless they wanted a lecture about "seasoning," which, in his mind, was not a cooking term so much as a sacred covenant between grease and survival.
One Saturday, my cousin Dale got curious and decided to open it before the waffle was ready. That boy lifted the iron too soon and tore the whole thing clean in half. Steam came out. Batter stretched like swamp glue. My grandfather stood there silent for a second, staring at that ruined waffle like he had just watched somebody back a truck over a wedding cake. Then he said, "That's what impatience looks like when it gets breakfast privileges."
He was not wrong.
Waffles are simple, but they are not forgiving if you treat them like pancakes with architecture. A good waffle needs heat, lift, fat, and enough self-control to leave the lid alone. That is the part people mess up. They mix the batter too hard, skip the egg whites, underheat the iron, stack finished waffles on a plate, and then wonder why breakfast came out limp and defeated, like it had been raised in a humid basement with no goals.
This recipe fixes all of that. The separated eggs give you a light, fluffy middle. The melted butter gives the outside a crisp, golden edge. The baking powder brings lift. The 5-minute rest gives the batter a chance to settle down and act right. And the wire rack at the end keeps the waffles crisp instead of letting them steam themselves into something sad and bendable.
Waffles have been around in one form or another for a long time, long before countertop appliances started blinking little lights at us like they had wisdom. The old idea is still the same: batter pressed between hot patterned plates until it turns crisp outside, tender inside, and useful as a delivery system for butter, syrup, fruit, or whatever else your morning can legally handle.
I make these when Saturday feels like it deserves effort, and I make them on weeknights when supper has gone off the rails and nobody in the house needs another responsible decision. They are crisp, fluffy, buttery, and sturdy enough to hold syrup without collapsing into a wet apology.
Just let the iron get hot.
And for the love of every breakfast your ancestors fought for, do not open the lid early.
Ingredients
- 2 cups (240g) all-purpose flour
- 2 tablespoons granulated sugar
- 1 tablespoon baking powder
- 1/2 teaspoon fine salt
- 2 large eggs, separated
- 1 3/4 cups whole milk
- 1/2 cup (1 stick / 113g) unsalted butter, melted and slightly cooled
- 1 teaspoon pure vanilla extract
- Nonstick cooking spray or additional melted butter, for the iron
Instructions
- 1Preheat your waffle iron according to its manufacturer's instructions. Medium-high heat is the target —? if your iron has a dial, aim for about 75% of the way to maximum. Let it fully preheat for at least 5 minutes before using it.
- 2In a large bowl, whisk together the flour, sugar, baking powder, and salt until combined. Set aside.
- 3Separate your eggs into two bowls. Add the yolks to the bowl with your milk, melted butter, and vanilla extract. Whisk until combined.
- 4In a separate clean bowl, beat the egg whites with a hand mixer or whisk until stiff peaks form —? they should hold their shape when you lift the beater. This takes about 2 minutes with a hand mixer.
- 5Pour the wet yolk mixture into the dry flour mixture and stir until just combined. A few lumps are fine and preferred. Do not overmix.
- 6Gently fold the stiff egg whites into the batter using a rubber spatula, folding rather than stirring. Stop when no large white streaks remain. Let the batter rest for 5 minutes while the iron finishes preheating.
- 7Grease your waffle iron with nonstick spray or brush it lightly with melted butter. Pour batter onto the iron according to its size —? for a standard 7-inch round iron, use about 3/4 cup of batter. Spread it slightly toward the edges but leave a small border.
- 8Close the lid and cook for 4 to 5 minutes. Do not open the lid before 4 minutes. The waffle is ready when steam has mostly stopped escaping from the sides and the exterior is deep golden brown.
- 9Remove the waffle with a fork or tongs and place it directly on a wire rack, not a plate —? this keeps the bottom crispy. Repeat with remaining batter, regreasing the iron between each waffle.
- 10Serve immediately, or hold cooked waffles in a 200°F (93°C) oven on a wire rack set over a baking sheet until ready to serve.
Pro Tips
- The egg white step is not optional if you want a fluffy interior —? I skipped it for months because it felt fussy, and those waffles were flat and slightly sad. Beating the whites separately is the difference between a waffle and a waffle-shaped pancake.
- Let the batter rest 5 minutes before cooking. The baking powder needs a moment to activate, and the gluten needs a moment to relax. This also gives you time to find the syrup, which is always in a different cabinet than you remembered.
- A wire rack is non-negotiable for holding cooked waffles. Stacking them on a plate traps steam and turns the bottoms soft. I learned this after serving eight waffles to guests and having them arrive at the table with the structural integrity of wet newspaper.
Substitutions
Storage Instructions
Let cooked waffles cool completely on a wire rack, then store in an airtight container or zip-top bag in the refrigerator for up to 3 days. For longer storage, freeze in a single layer on a baking sheet until solid, then transfer to a freezer bag and store for up to 3 months. Reheat refrigerated waffles in a toaster or 350°F oven for 5-8 minutes. Reheat frozen waffles straight from the freezer in a toaster on medium setting —? they come out crisper from the toaster than from the oven.
Make Ahead
The dry ingredients can be whisked together and stored in a sealed container for up to 1 week. The batter itself does not hold well once mixed —? the baking powder loses its lift and the egg whites deflate, so mix it fresh each time. Cooked waffles freeze beautifully and reheat better than you'd expect.
Frequently Asked Questions
Why are my waffles coming out soggy instead of crispy?
Three things cause soggy waffles: an iron that wasn't fully preheated, opening the lid too early, and stacking cooked waffles on a plate. Preheat your iron for at least 5 full minutes, don't open the lid until 4 minutes have passed, and always rest finished waffles on a wire rack. The rack lets air circulate underneath so the bottom stays crisp instead of steaming itself soft.
Do I really have to separate the eggs and beat the whites?
You don't have to, but you'll notice the difference. Waffles made with whole eggs mixed directly into the batter are denser and flatter. Beating the whites to stiff peaks and folding them in creates air pockets that expand in the heat, giving you that classic fluffy interior. It adds about 3 minutes. If you skip it, the waffles are still edible —? just more pancake-adjacent than waffle-proud.
Can I make waffle batter the night before?
The mixed batter doesn't hold well overnight —? the baking powder starts working as soon as it hits liquid, and the beaten egg whites deflate within about 30 minutes. What you can do: measure and mix your dry ingredients the night before and store them in a bowl covered with plastic wrap. In the morning, add your wet ingredients and go. It saves about 4 minutes, which feels significant before coffee.
How do I keep waffles warm for a crowd without losing the crispiness?
Set your oven to 200°F (93°C) and place a wire rack over a baking sheet inside. As each waffle comes off the iron, set it directly on the rack —? never stack them. They'll hold their crispiness for up to 30 minutes this way. Avoid covering them with foil, which traps steam and ruins the texture. This method works better than most people expect.
Can I make this waffle recipe without a waffle iron?
Not with the same result —? a waffle iron isn't just a shape mold, it applies heat from both sides simultaneously, which creates the crispy exterior and cooked interior at the same time. You can cook this batter as pancakes in a skillet and they'll be good, but they won't be waffles. If you make waffles more than a few times a year, a basic waffle iron is worth the cabinet space.
Can I make these waffles gluten-free or dairy-free?
Yes to both. For gluten-free, swap the all-purpose flour with a 1:1 gluten-free flour blend that contains xanthan gum —? add an extra minute of cook time. For dairy-free, replace whole milk with oat milk or almond milk in equal measure and replace butter with 1/3 cup of neutral vegetable oil. For fully vegan waffles, use flax eggs and skip the egg white step —? the texture will be denser but the waffles cook through and taste genuinely good.
How do I know when the waffle is done without opening the iron too early?
Watch the steam. When you first close the lid, steam escapes actively from the sides —? that's the moisture cooking off. When the steam slows to almost nothing, the waffle is close to done. On most irons, that takes 4 to 5 minutes at medium-high heat. If your iron has a readiness indicator light, still wait until steam has mostly stopped before trusting it. Opening early tears the waffle and leaves wet batter in the grid.
My waffles stick to the iron even when I grease it. What am I doing wrong?
Usually one of two things: the iron wasn't hot enough when you added the batter, or you didn't grease it thoroughly enough between each waffle. Nonstick spray applied to both plates before every single waffle —? not just the first —? is the standard. If your iron is older and the nonstick coating is worn, brush on melted butter instead of spray and make sure to get into the grid corners. A properly preheated, well-greased iron should release cleanly.